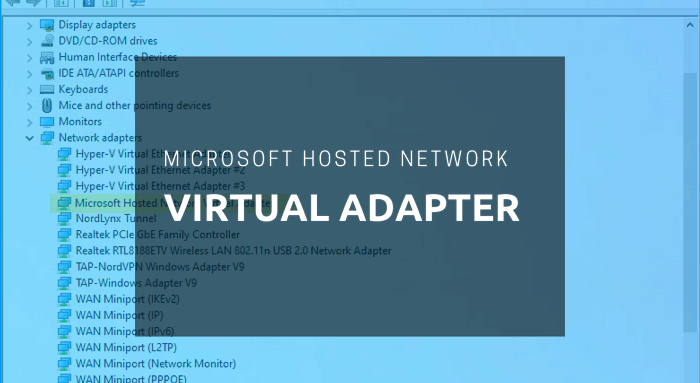
It is possible to manage the virtual Wi-Fi from Device Manager as long as you can see the Microsoft Hosted Network Virtual Adapter under the Network adapters section. However, if it is not visible for some reason, you cannot enable or disable virtual networks on your Windows 10 computer.
Microsoft Hosted Network Virtual Adapter missing
To fix the missing Microsoft Hosted Network Virtual Adapter issue on Windows 10, follow these steps: To learn more about these steps, keep reading.
1] Show hidden devices
Although Device Manager shows the plugged-in devices, it may not show all the devices you have used or connected. In other words, it hides some devices that you do not need regularly. For example, you cannot see the Floppy drive controllers or Floppy disk drives option since you do not use it frequently in these present days. Similarly, the Device Manager can hide the Microsoft Hosted Network Virtual Adapter option since most people do not use this feature regularly. If you are one of them, you might be a victim of the same issue. Therefore, all you need to do is to show the hidden devices in Device Manager. For that, you can open Device Manager, click on the View option in the top menu bar, and select the Show hidden devices option.
2] Enable or disable wireless hosted network
If you turned off the wireless hosted network manually, it is required to enable it as well. Although it doesn’t disappear from the Device Manager when you disable the adapter, you can try enabling it if you are getting the missing issue. The best thing is that you can enable or disable it with the help of Command Prompt. Therefore, open an elevated Command Prompt window and enter the following commands one after one: At last, restart our computer and check if it solves the issue or not.
3] Update driver
If you are using an old network adapter and recently upgraded to Windows 10, you might find a compatibility issue. To establish a verified connection, you can try updating your driver to the latest version. Although it was possible to update drivers through Device Manager, now you can get updates through Windows Updates. If you have the latest driver on your computer, you can follow this method to update the driver. However, if you want to search for the driver on the internet, you can use the Windows Update feature. It is available under the View optional updates.
4] Run Network Troubleshooter
Windows 10 comes with some in-built troubleshooters, allowing you to resolve common problems like this one. As this missing adapter issue is related to the network adapter you are using, you have to run the Network Adapter troubleshooter. For that, you can press Win+I to open the Windows Settings and go to Update & Security > Troubleshoot > Additional troubleshooters. Here you can find the Network Adapter. Select this troubleshooter and click on the Run the troubleshooter button. Then, follow the screen instruction to complete the steps. You might have to restart your computer as well.
5] Restart WLAN AutoConfig service
WLAN AutoConfig service lets you connect or establish a connection between your computer and a wireless network, adapter, etc. This particular service is somehow linked to the Microsoft Hosted Network Virtual Adapter. In other words, if this service is not running or lagging, you might find the issue as mentioned. Therefore, it is recommended to verify whether the WLAN AutoConfig service is running or not. To get started, search for services in the Taskbar search box, and click on the individual result to open the Services panel. Then, double-click on the WLAN AutoConfig setting. If it is already running, click on the Stop and Start buttons, respectively. However, if it is not running, expand the Startup type list > select Automatic, and click the Start button. At last, click the OK button, close all windows and restart your computer.
6] Change EverUsed value in Registry
If you changed a certain value in the Registry file, you might encounter this problem on your computer. To verify this, follow the following steps. Press Win+R, type regedit and press the Enter button. If the UAC prompt appears, click on the Yes option to open Registry Editor. Then, navigate to the following path: Here you can find a REG_DWORD value named EverUsed. The value data should be set as 1. However, if it is set as 0, double-click on it, type 1 in the box and click the OK button. Restart your computer and check if it solves the issue or not. Read next: What is Microsoft Device Association Root Enumerator?

