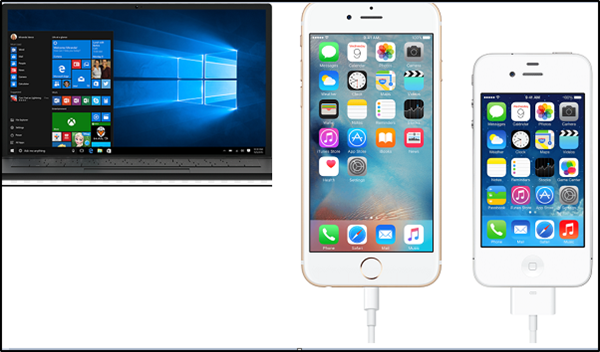
iPhone not charging when connected to Windows PC
If your iPhone battery doesn’t charge or charges slowly when connected to your Windows PC or if you see an alert message, here is what to do: If no single method works best for you, try a combination of the solutions given below.
1] Use a USB 2.0 or 3.0 port on a computer
Plug your charging cable into a USB 2.0 or 3.0 port on a computer that’s on and not in sleep mode. Don’t use the USB ports on your keyboard. Why? Not all USB ports are equal. USB 1 and 2 will charge slower than USB 3. So, try charging your iPhone by connecting the charging cable to USB 3.0 port. As your device charges, you’ll see a lightning bolt beside the battery icon in the status bar, or a large battery icon on your lock screen. Read: Windows computer does not recognize iPhone
2] Don’t use damaged accessories
Always avoid using damaged accessories. Because, if the blade or prong on a power adapter or prong on an AC power cable is visibly loose, bent, or broken off and stuck inside an electrical outlet, there can be a safety risk in addition to failed charging problem.
3] Move your iPhone and charger to a cooler location
Some users report, their iPhone charges normally but gets disconnected instantly when its 80% charged. Why this occurs? It is normal if your iPhone gets slightly warmer while it charges. When this happens, the software in your iPhone might limit charging above 80 percent. This, it does in an attempt to maintain the battery life. However, as soon as the temperature drop, your iPhone will charge again. So, if possible, try moving your iPhone and charger to a cooler location and see if the change in location fixes your problem. Read: iOS device not showing up in iTunes for Windows 11/10.
4] Enable PowerShare and USB emulation in BIOS
PowerShare on systems that support it allows you to charge from USB ports while the system is powered off (or on some models, only while it’s asleep if it’s not connected to AC). A problem associated with this feature could possibly prevent your iPhone from being detected by your PC or a Windows 10 Computer (Dell). So, to fix it, you’ll need to access and enable the feature. Here’s how! To enter the BIOS setup, tap the < F2 > key on the keyboard after turning the system to ‘On’. You may need to continue pressing the key until you see the BIOS screen setup. When seen, go to On-Board Devices under System Setup heading. Here, select how much of the battery’s charge can be used. For instance, if you set the USB PowerShare to 25%, the external device will be allowed to charge until the laptop battery reaches 25% of full capacity. It’s important to mention here that depending on your systems BIOS revision the settings menu may differ. On some machines, PowerShare feature can be seen under ‘Onboard Devices‘, while in others under ‘System Configuration‘ in the BIOS settings menu. The two screenshots below show differing menu layouts and wording of the USB PowerShare settings options. Look for either USB PowerShare or USB Configuration options.
When you set the option to Disabled, the USB PowerShare feature will be turned off and devices attached to the USB PowerShare port will not be charged when the system is in a low power state. Selecting any of the other settings enables the feature and specifies the system battery capacity at which charging of a USB device attached to the USB PowerShare port will be terminated.
5] Bad or damaged U2 chip
If the iPhone still fails to connect to your Windows 10 PC, you probably have a bad or a damaged U2 chip. If you are not aware, U2 is a controller chip responsible for USB communication and charging. Charging your iPhone using a third-party charger or USB lead that does not regulate the power but instead, allows for larger variables in voltage and current, can damages the U2 IC and can leave you with a seemingly dead iPhone. To fix this, you’ll need extensive knowledge about micro soldering skills and expensive tools to repair. A common cause for this issue is charging your iPhone from the cigarette lighter of your car. So, avoid this practice! I hope this helps you!

