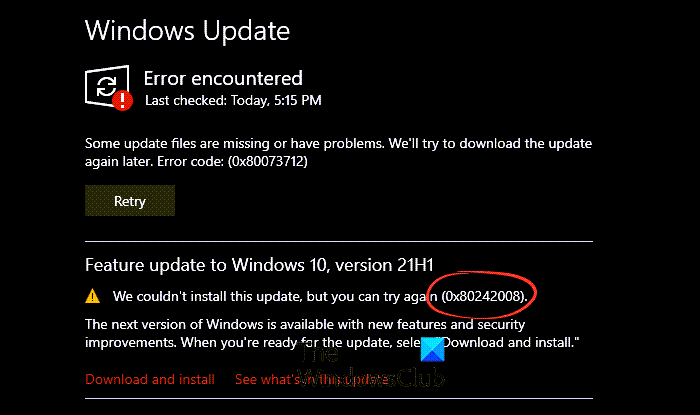
How to fix Windows Update Error Code 0x80242008
You can also see the failed Windows Update Error Code 0x80242008 notification under the Windows Update history. The good part is you can troubleshoot this issue both, automatically and manually on your Windows 11/10 computer. See the more detailed description below.
How do I fix error 0x80242008?
The error 0x80242008 seen during the Windows update can be fixed by following any of these troubleshooting methods listed below.
1] Check the status of Windows Update related Services
Open Windows Services Manager and check the Windows Update related Services like Windows Update, Windows Update Medic, Update Orchestrator Services, etc are not disabled. The default configuration on a standalone Windows 11/10 PC is as follows:
Windows Update Service – Manual (Triggered)Windows Update Medic Services – ManualCryptographic Services – AutomaticBackground Intelligent Transfer Service – ManualDCOM Server Process Launcher – AutomaticRPC Endpoint Mapper – AutomaticWindows Installer – Manual.
This will ensure that the required Services are available. Apart from the direct service, you should find the dependencies of Windows Update service and ensure if they are running or not. To get started, search for “services” in the Taskbar search box and click on the search result. After opening the Services window, find out Windows Update, DCOM Server Process Launcher, and RPC Endpoint Mapper. Check if they are running or not.
If not, you need to start those services one after one.
2] Run the Windows Update Troubleshooter
If you get an error code while downloading and installing Windows updates, the Update Troubleshooter can help you fix it quickly. To run the Windows Update Troubleshooter, go to Settings, select System > Troubleshoot > Other troubleshooters. Then, under Most frequent, select Windows Update > Run. When the troubleshooter is finished running, restart your device and check for new updates. Then, go back to Settings > Windows Update > Check for updates, and then install any available updates.
3] Run the System File Checker program
With the passage of time, system files get old and can become corrupted or even go missing from the system. So, when Windows cannot find such files, it may stop updating the system. To fix it, run the System File Checker. It is a utility in Microsoft Windows located in C:\Windows\System32 folder that allows users to scan for and restore corrupt Windows system files.
4] Clean the temporary DataStore cache folder
To start, press the Win+R keys simultaneously. In the Run dialog box that appears, type the following and hit Enter – %windir%\SoftwareDistribution\DataStore Delete all contents of this folder. Try installing the update again.
5] Disable any third-party Antivirus program
If you’re running any third-party antivirus like Avast, Bitdefender, Kaspersky, etc disable it temporarily and then try installing the update again. In many cases, it has been found that antivirus programs create compatibility issues that prevent updates from getting installed successfully.
Hope this helps. Read: Fix Windows Installation, Update or Upgrade Failed Errors.
Is Windows Update really necessary?
A vast majority of updates feature important bug fixes and security improvements. So such updates are highly recommended to keep your system safe. You can check for such updates by navigating to Windows Settings > Windows Update > Check for Updates. You could at most Pause Updates for a while – but it is always good to install them eventually. Hope it helps!

