What is DXGI?
DXGI is Microsoft DirectX Graphics Infrastructure. It handles enumerating graphics adapters, enumerating display modes, selecting buffer formats, sharing resources between processes, and presenting rendered frames to a window or monitor for display. It is used by Direct3D 10, Direct3D 11 and Direct3D 12.
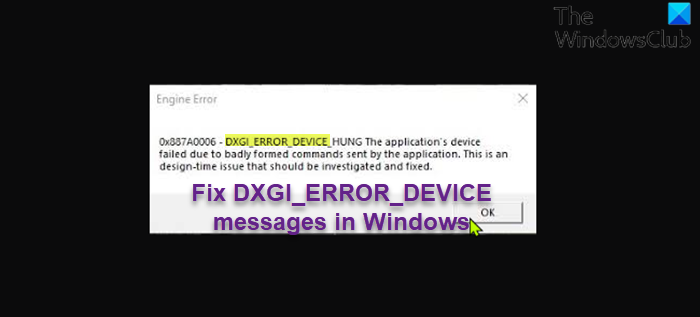
Fix DXGI_ERROR_DEVICE HUNG or RESET in Windows
See the table, sourced from Microsoft, at the end of this post for errors that can be returned by a DXGI function. The solutions offered in this post applies to any of the error instances. If you’re faced with any DXGI_ERROR messages on your Windows gaming PC, you can try our recommended solutions below in no particular order and see if that helps to resolve the issue. Let’s take a look at the description of the process involved concerning each of the listed solutions. Before you try the solutions below, check for updates and install any available bits on your Windows device and see if the error reappears.
1] Update graphics driver
The DXGI_ERROR_DEVICE messages PC gamers may get on their Windows gaming computer can be fixed by updating the graphics adapter driver.
2] Stop Overclocking (if applicable)
This solution requires you stop overclocking your CPU. So, if you have overclocked your PC, you can simply reverse the change depending on the overclocking software in use. Generally, launch the software and look for the option to stop the overclocking. Once done, restart your computer and see if the issue is resolved. Otherwise, proceed with the next solution.
3] Update/Install DirectX
Some of the instance of this error is associated with DirectX. This solution requires you to make sure DirectX is up-to-date on your Windows system.
4] Disable Antialiasing
This solution requires you to disable Antialiasing in NVIDIA Control Panel settings. Here’s how:
Open NVIDIA Control Panel.On the left navigation pane, select the Manage 3D Settings option.Now, navigate to Global Settings > Antialiasing.Now, turn Off the Antialiasing feature.Exit NVIDIA Control Panel.
Check if the issue is resolved. If not, try the next solution.
5] Add the TdrLevel key to the Registry
Adding and disabling Timeout Detection and Recovery (TDR) in the registry can fix the issue. To do this follow the instructions in our guide on how to fix DXGI_ERROR_DEVICE_REMOVED error.
6] Modify LoadApplnit_DLLs value in Registry
Since this is a registry operation, it is recommended that you back up the registry or create a system restore point as necessary precautionary measures. Once done, you can proceed as follows:
Press Windows key + R to invoke the Run dialog.In the Run dialog box, type regedit and hit Enter to open Registry Editor.Navigate or jump to the registry key path below:
At the location, on the right pane, double-click the LoadApplnit_DLLs entry to edit its properties.In the properties dialog, input 0 in the Value data field.Click OK or hit Enter to save the change.Exit Registry Editor.Restart PC.
On boot, check if the issue is resolved. If not, try the next solution.
7] Disable Steam Cloud Synchronization
The Steam Cloud Synchronization feature syncs your game files to save from accidental deletion, as well as makes your games available to play on another PC. This solution requires you to disable the Steam Cloud Synchronization option. Here’s how:
Launch the Steam client on your PC.Click the Library tab.In your Library, right-click the problematic game and select Properties.In Properties, click the Updates tab.Now, uncheck the option for Enable Steam Cloud Synchronization.Click Apply.Exit Steam.Restart PC.
If the issue is still unresolved, try the next solution.
8] Reinstall the Gaming Client/Game
This solution requires you to uninstall the gaming client (preferably, use a third-party software uninstaller) you’re having issues running a game on, reboot PC, and then download and reinstall the latest version of the gaming client on your Windows 11/10 PC. You can also uninstall and reinstall the game that’s throwing the error in question. Hope this helps! Error codes that can be returned by a DXGI function – Sourced from docs.microsoft.com.
What does Error reading Pak file mean?
If you have encountered the error reading pak file in Apex Legends on your Windows 11/10 computer, it’s most likely due to corrupt game files which you can easily fix. To fix the error, you simply need to delete the corrupt game file and then relaunch the game. If it doesn’t work, you can then repair your game files and Steam or Origin should automatically replace any corrupt files.
How do you fix an Apex engine error?
If you have encountered the Apex Legends Engine error on your Windows system, you can fix the issue by following these instructions: right-click on the Apex Legends icon and select Open File Location. At the File Explorer location, right-click on the r5apex executable and select Properties. Click on the Compatibility tab. Now, check the Run as Administrator box, then select Apply. You can now run the game without issues.

