Undoubtedly, Google Chrome is the most popular and feature-rich browser you can use on your Windows 10 computer. Like any other standard web browser, it is possible to play video or audio on a webpage. However, let’s assume that you want to watch a video, but you cannot understand the English language when someone speaks fast. Many times, it happens when someone watches a Netflix show or YouTube video. Even if that is not the case, you can simply turn on Live Caption on Google Chrome and find the subtitle even though it doesn’t have any. As said earlier, this functionality is available only in English, and you can find it from any region. As it doesn’t work automatically, you have to enable it on your own. Before getting started with the steps, it is recommended to update the browser to the latest version. For that, you can open the browser > type chrome://settings/help in the address bar, press the Enter button and check if any update is available. If yes, install it.
Enable Live Caption on Google Chrome
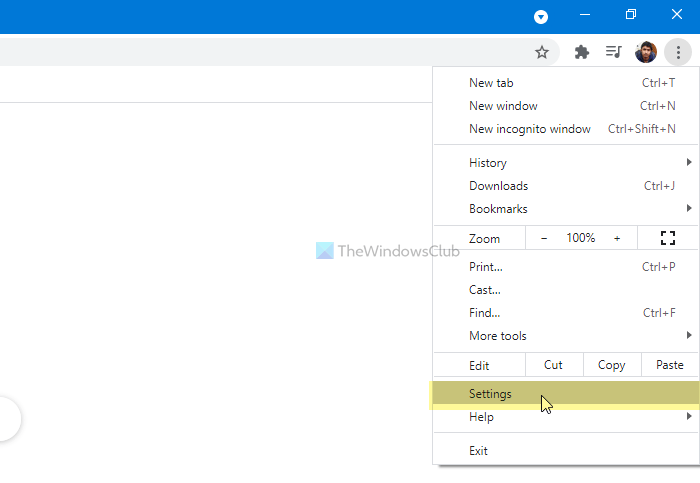
To disable or enable Live Caption on Google Chrome, follow these steps- To learn more about these steps, keep reading. At first, open the Google Chrome browser on your computer, click the three-dotted icon visible on the top-right corner, and select the Settings option from the list.
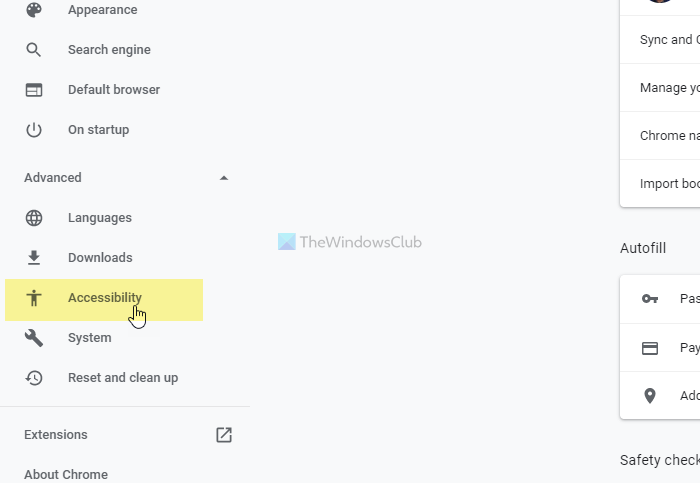
Here you can see an option called Advanced. Click on this button and select the Accessibility option. In case you want to complete all these in a faster mode, enter chrome://settings/accessibility in the address bar and hit the Enter button.
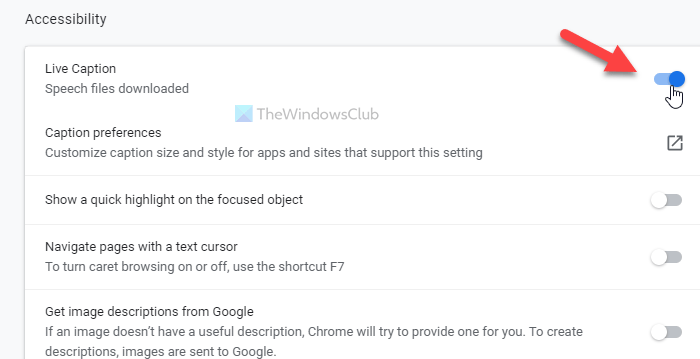
Here you can see the Live Caption toggle button. Toggle it to turn it on.
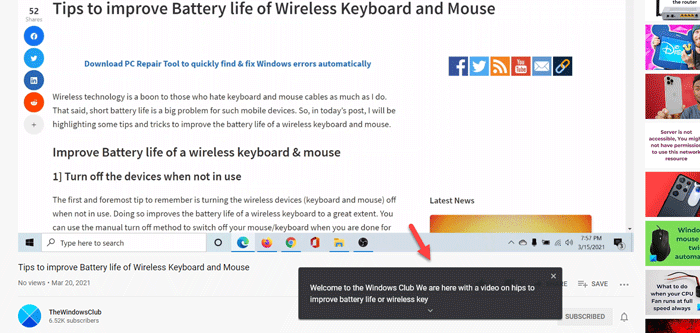
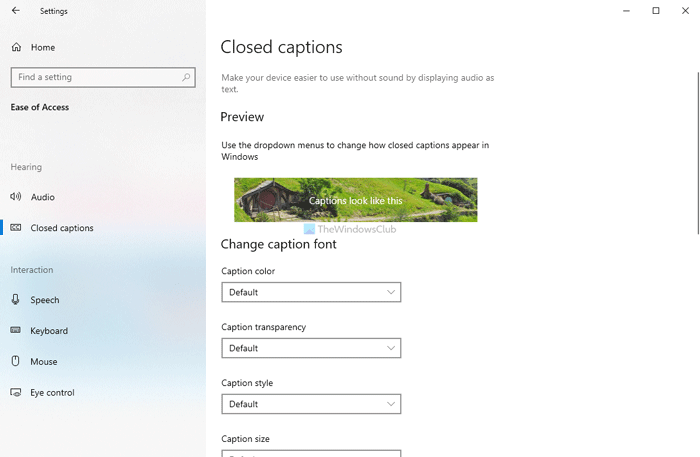
After that, you can play a YouTube video or anything else to find the caption in real-time. In case you want to customize the live caption panel, you need to open Windows Settings by pressing Win+I and go to Ease of Access > Closed captions.
From here, it is possible to customize the panel according to your requirements. That’s all! Hope it helps. Now: How to Enable and Customize Live Captions on Windows 11.
