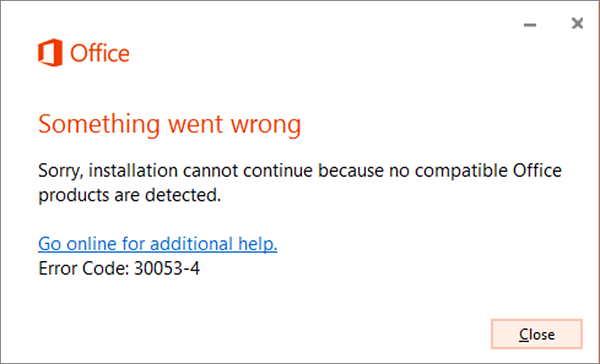
Error 30053-4 or 30053-39 when installing an Office Language Pack
Language packs are useful when you need to work with two different languages. Maybe you need to work on one language, but when it comes to helping or proofreading, you need another language. Be aware that some language accessory packs offer partial localization. So some parts of the office might show the default language.
For Office 365 and Office 2019, 2016, 2013, 2010
Go the language accessory pack page from office.com, and select your language. When the download link appears, download it. The package includes the display in the chosen language, Help in the selected language, and proofing tools for the selected language. After installation is complete, follow the steps to configure the language accessory pack. 1] Select Editing and Proofing Language:
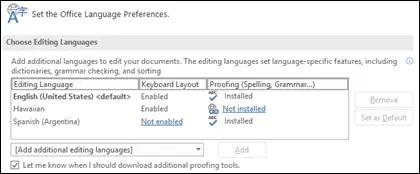
Open any Office program and, navigate to File > Options > Language. Under Choose Editing Languages, make sure that the language you want to use is in this list. In the same place, you can add or remove the language Office uses for editing and proofing tools. 2] Configure Display and Help Languages:
Here you can change the default display and help languages for all your Office applications. Whatever you select here will be used for buttons, menus, and support. Once you choose the language, restart all your Office applications for the changes to take effect.
For Office volume license versions
Only an administrator can install this when you are using a Volume License version of Microsoft Office 2016. He should download the ISO image of the language packs, language interface packs, and proofing tools from the Volume Licensing Service Center (VLSC). It is a complicated process, so we suggest you have a look at the docs.microsoft.com page for that. Once everything is correctly installed, these error code 30053-4 or 30053-39 should no more occur.


