CloudShot screen capture freeware
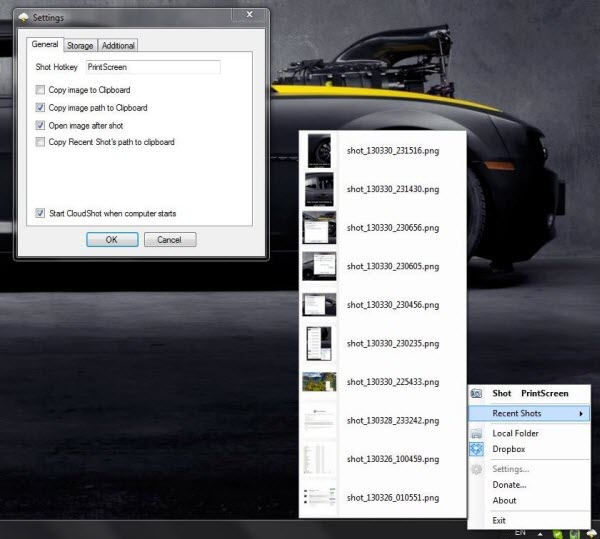
Once you’ve successfully installed CloudShot on your Windows PC, pressing the print screen button will open the CloudShot’s translucent capturing window, in this window you can select the area of the screen to be captured and it would automatically be saved at your desired location. CloudShot also shows recent shots, and that can be opened and viewed. It works similar to how Browser History works. It even supports multiple monitor capturing and even allows you to add text labels. It also pops a sound and gives you a notification of every capture. You can capture an area or a Window using this free tool. There are two options to save images, you can either save the images in Local Folder, or you can directly upload the screenshots to your Dropbox account. To sign in to your Dropbox account, click on CloudShot icon from the system tray and click on settings. Under settings go to the second tab, which is ‘Storage’. From the drop-down menu choose your storage type as Dropbox and click on the Sign In button. You will be then directed to the Dropbox login page where you can securely enter your credentials and grant permissions to CloudShot for uploading screenshots to your Dropbox account. If you don’t really like the PrintScreen hotkey feature, then you can change it under the Settings window. You can even choose to directly copy the image to the clipboard as well, or you can choose to copy just the link to the image. Once you’ve captured an image, the image will automatically open. CloudShot is a nice and useful tool, the cloud features make it unique on its own, and minimal customizations make it easier to operate. CloudShot is a handy system tray app which can be used by anyone. CloudShot is free to download and is open source.
CloudShot download
Click here to download CloudShot. It’s an easy way to share screenshots from your Cloud account.

